
Configuring the Teams Extension
Overview
The Microsoft Teams Extension enables UniversitySite to create and manage Teams meetings for Live Instructor-Led Training Events using Azure subscriptions. "Azure subscriptions have a trust relationship with Azure Active Directory (Azure AD). Azure AD is trusted to authenticate Users, services, and devices for the subscription..." See the full article here.
Step 1 - Azure Admin: Register the UniversitySite Teams Extension application with this Microsoft Identity Platform to create the Application (client) ID, Directory (tenant ID), and Client Credential Secret Value. Provide this information to the LMS Admin.
Step 2 - Azure Admin or Network Sys Admin: Update Teams Policy via PowerShell (as an Admin).
Step 3 - LMS Admin: Connect UniversitySite to Microsoft Teams with your Application (client) ID, Directory (tenant ID), and the Client Credential Secret Value.
Existing Teams Integration - Need the New Teams Event Calendar Creation Instructions?
If you already have teams integration working but need to add this new capability to have UniversitySite also create a teams calendar event with chat and other functionality proceed with the next 2 steps.
If you have NEVER CONFIGURED Teams integration for UniversitySite, skip the next 2 steps and begin at Register UniversitySite.
-
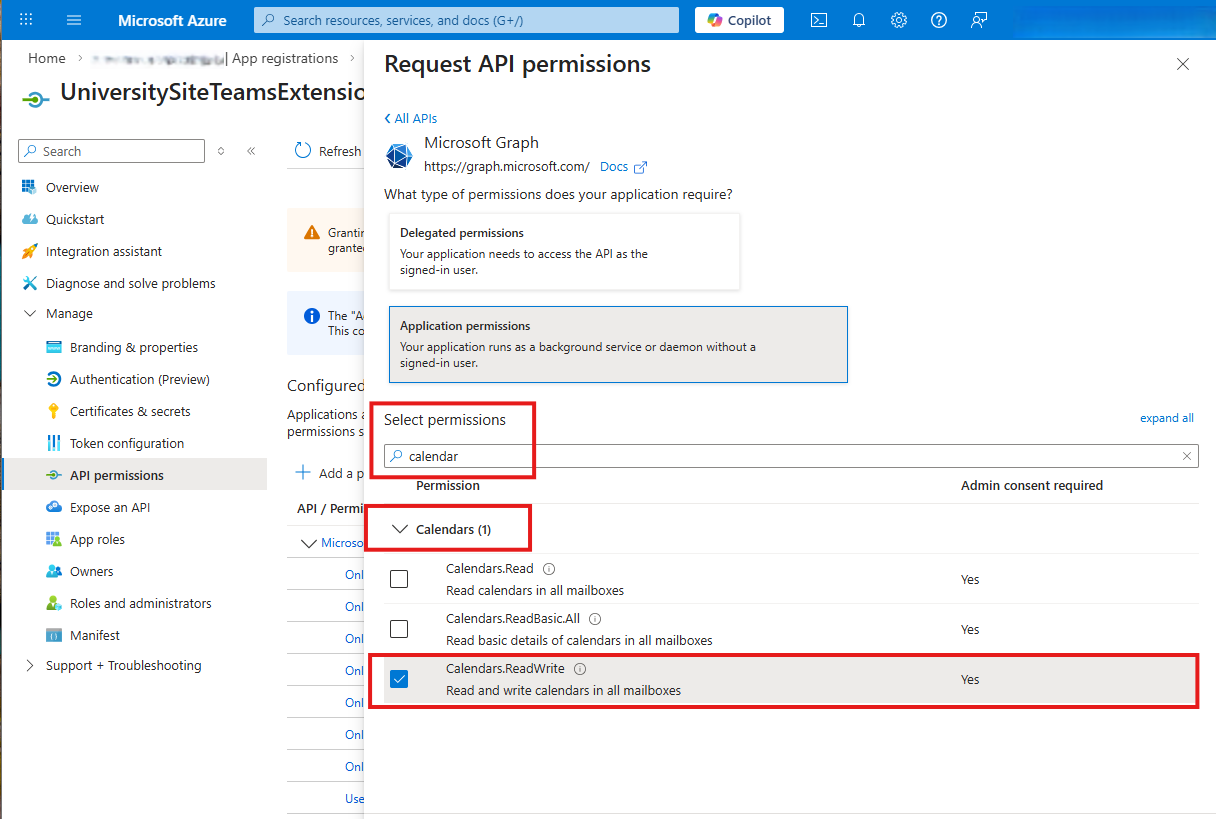
Go back to the Select permissions search field, type calendar. Click Calendar |Expand and select the Calendars.ReadWrite permission.

-
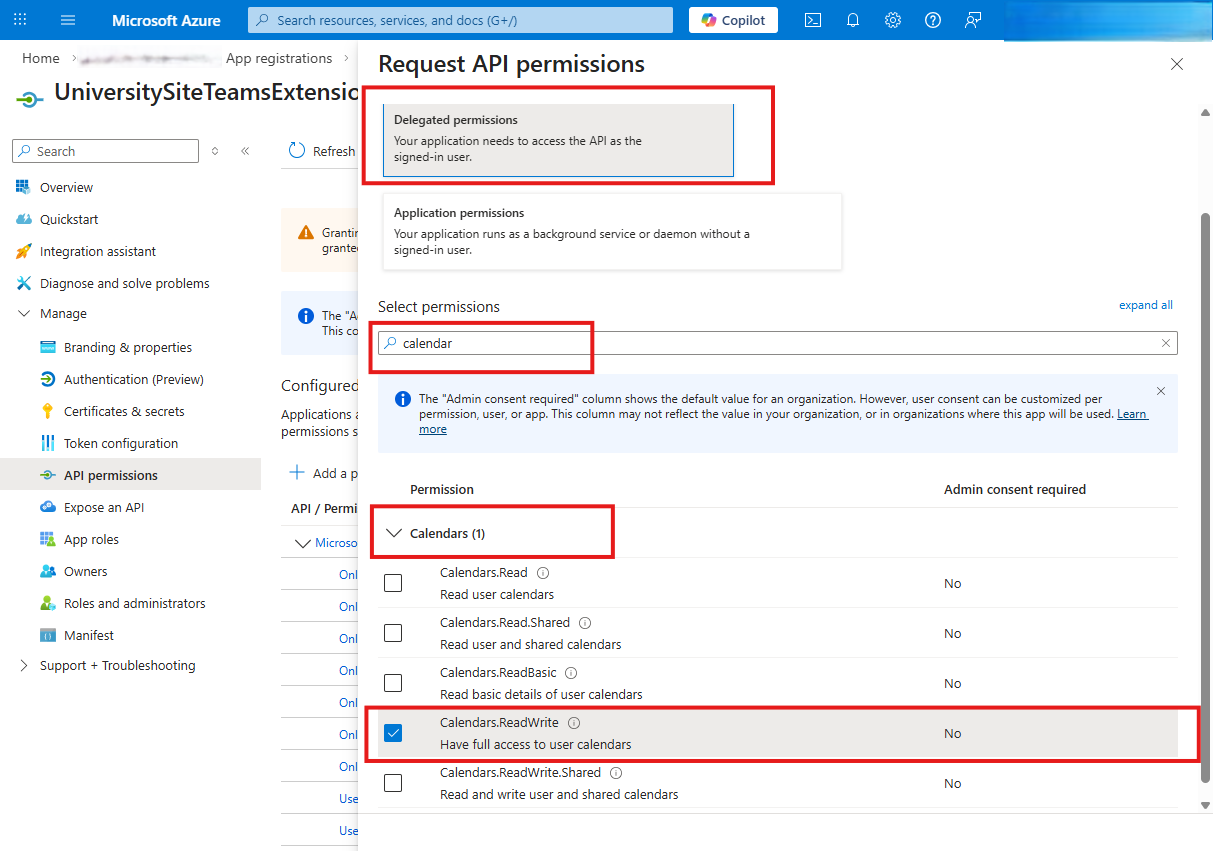
At the top, select Delegate permissions then go to the select permissions search field and re-type calendar. Click Calendar |Expand and select the Calendars.ReadWrite permission.

Register UniversitySite Teams Extension Application via Azure Portal
-
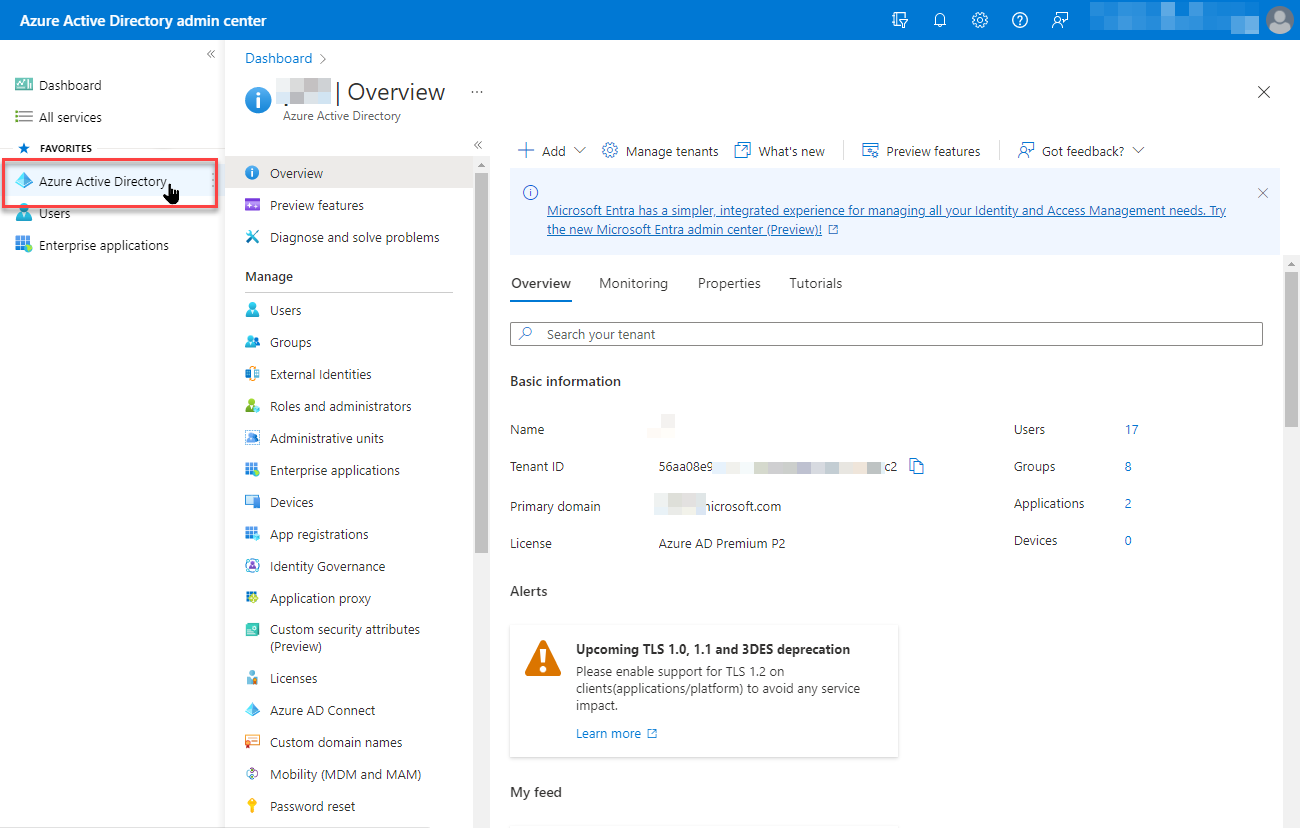
From Azure Active Directory admin center | select Azure Active Directory.
-
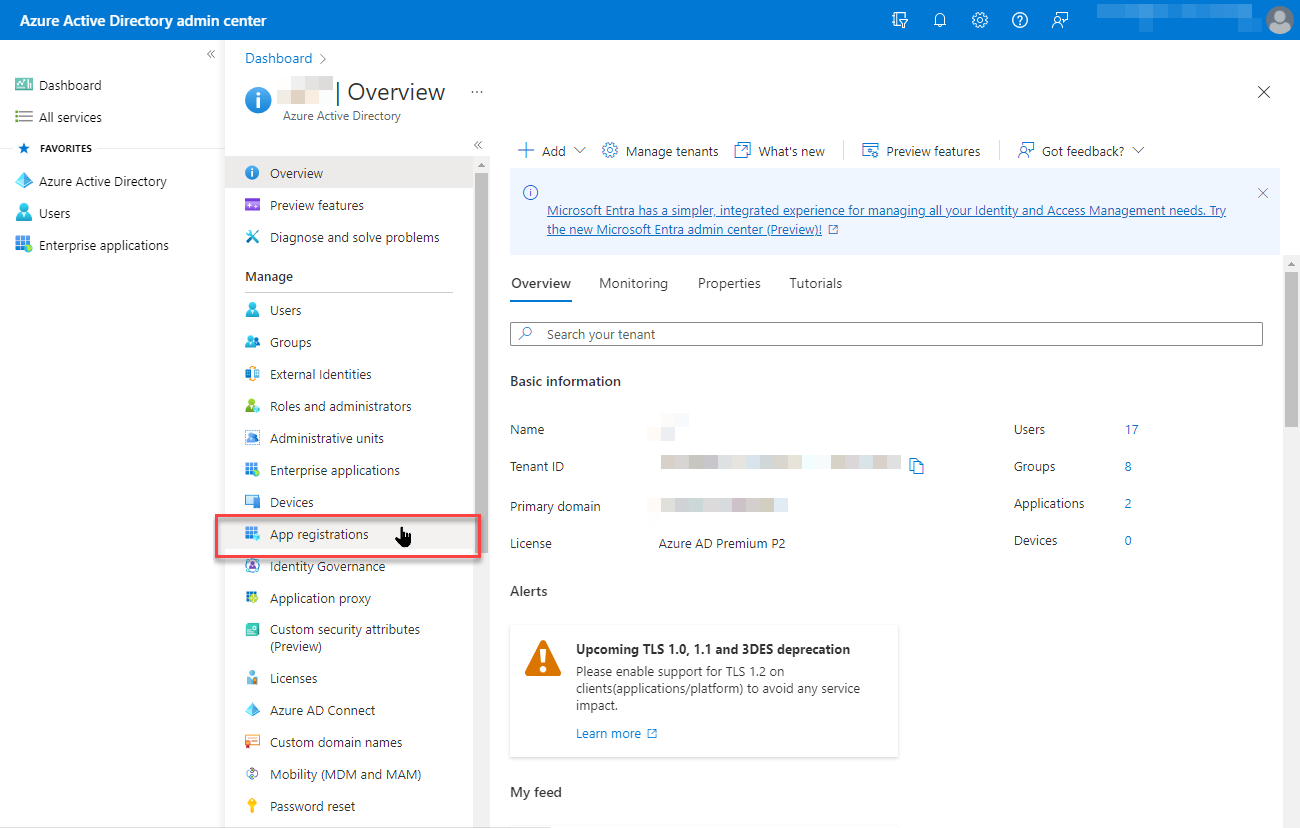
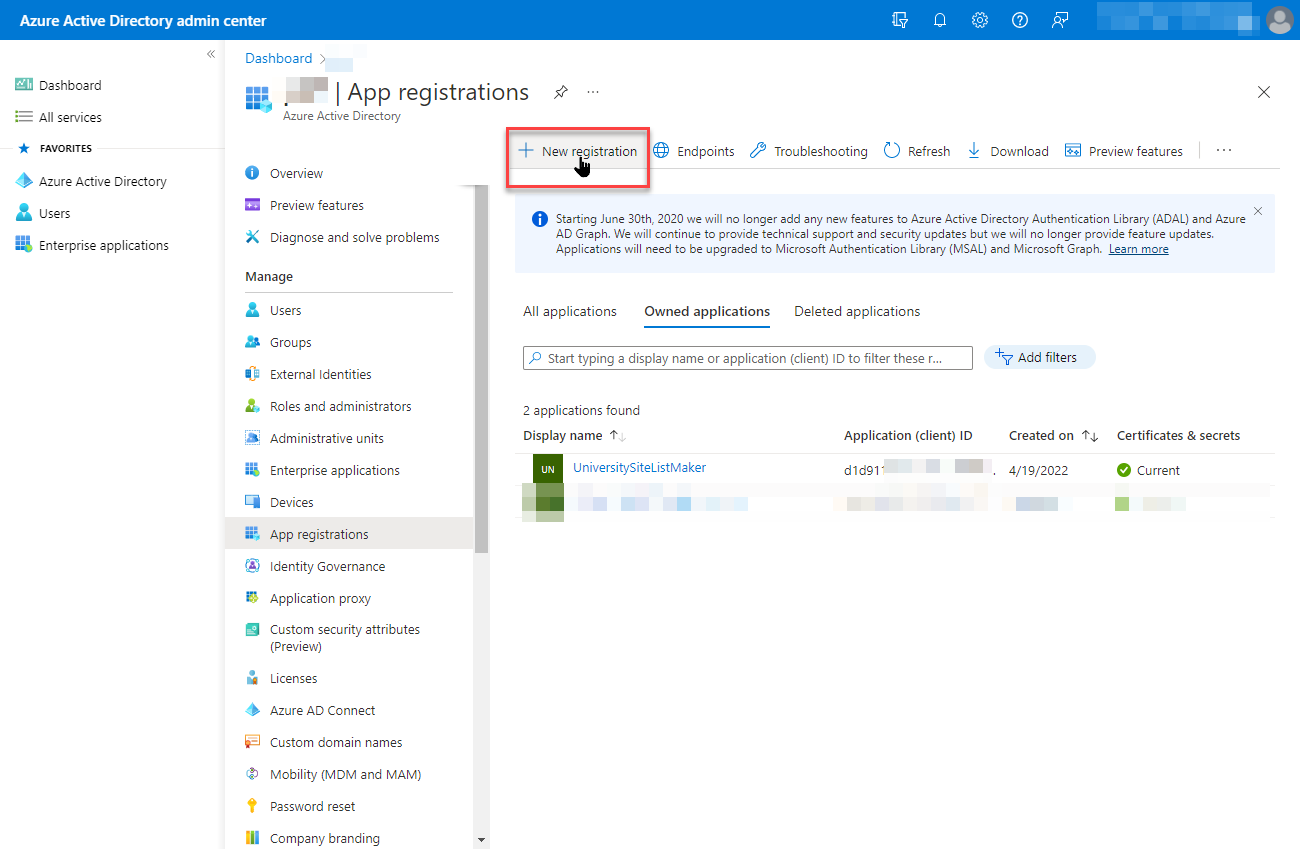
Select App registrations.
-
Click + New registration.
-
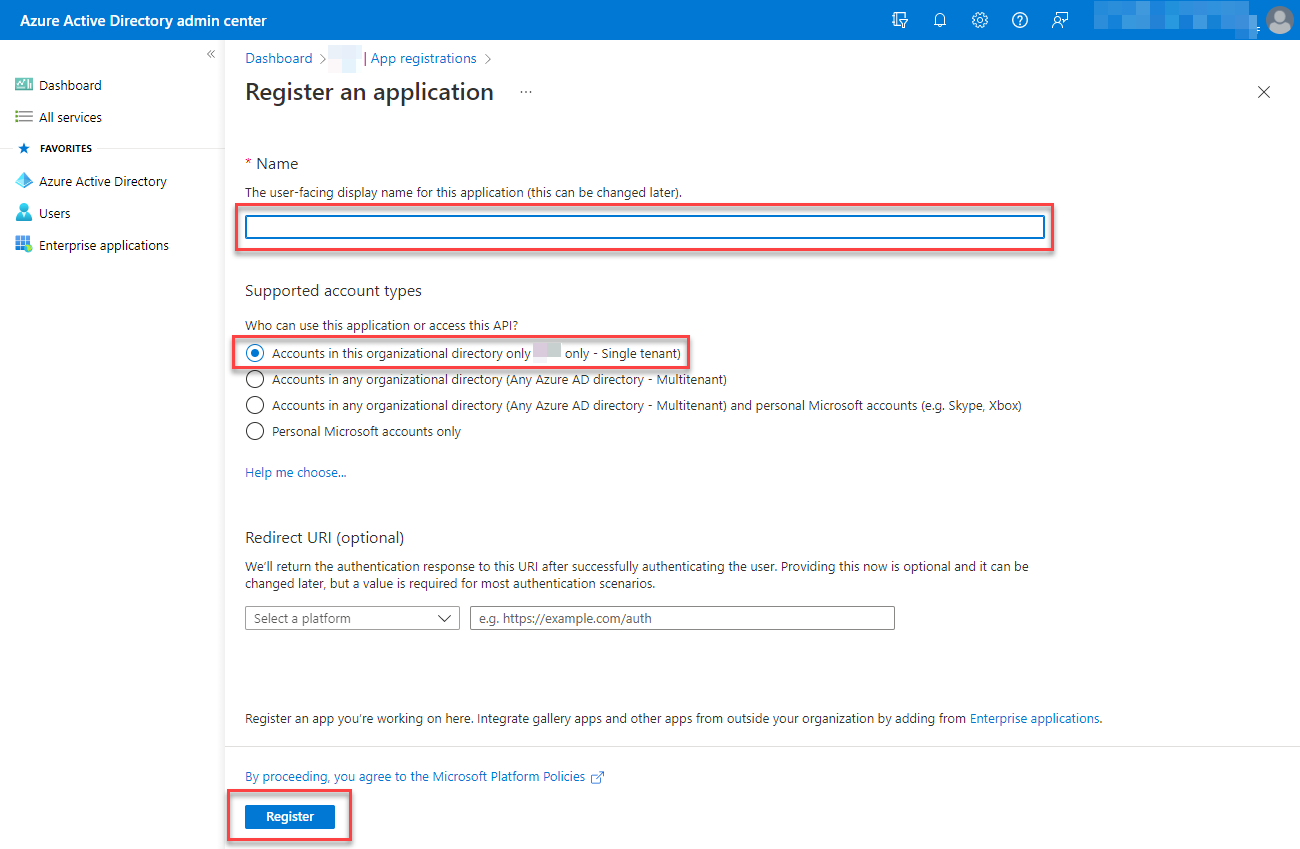
Add a Name such as UniversitySiteTeamsExtension or USiteTeams | choose Accounts in this organizational directory only and then click Register. Make note of the Name (Display Name) to use in the PowerShell script.
-
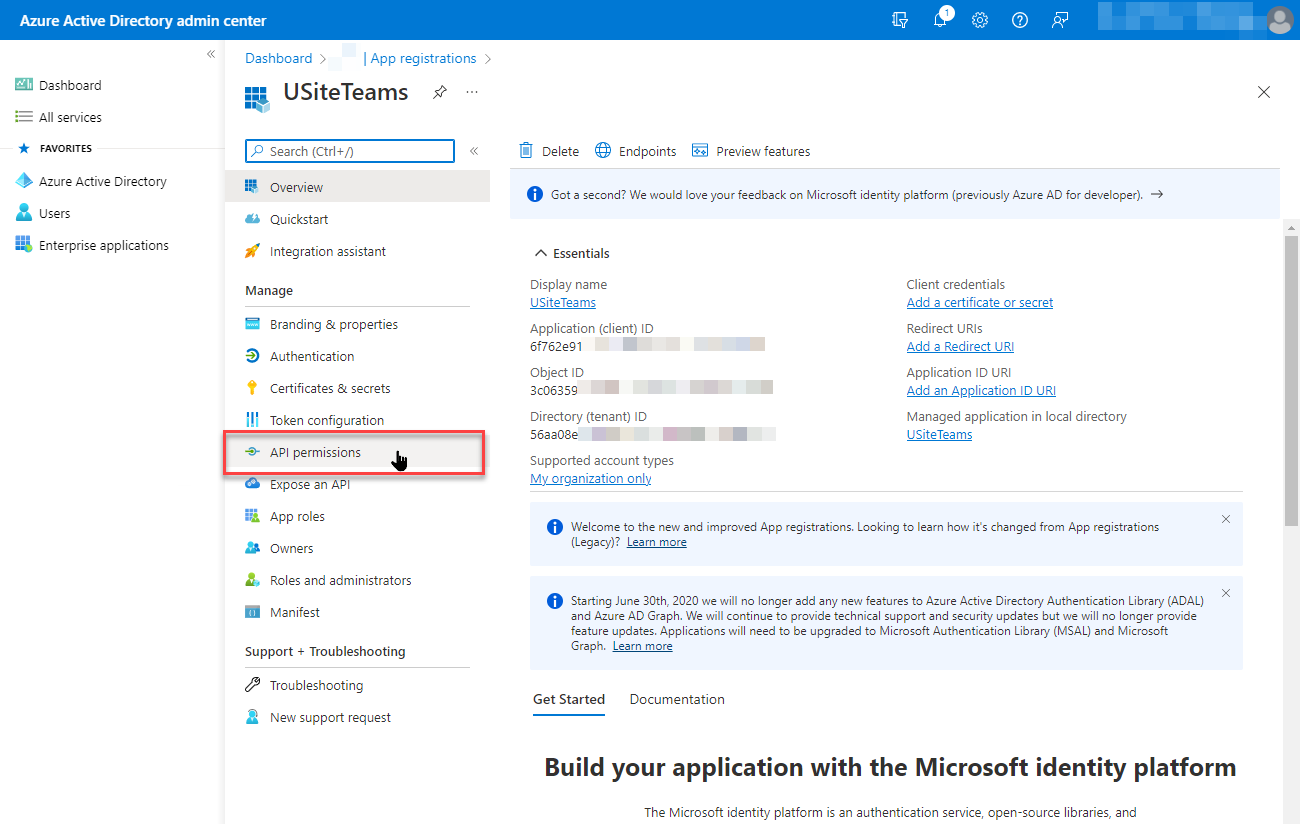
Next, click API permissions.
-
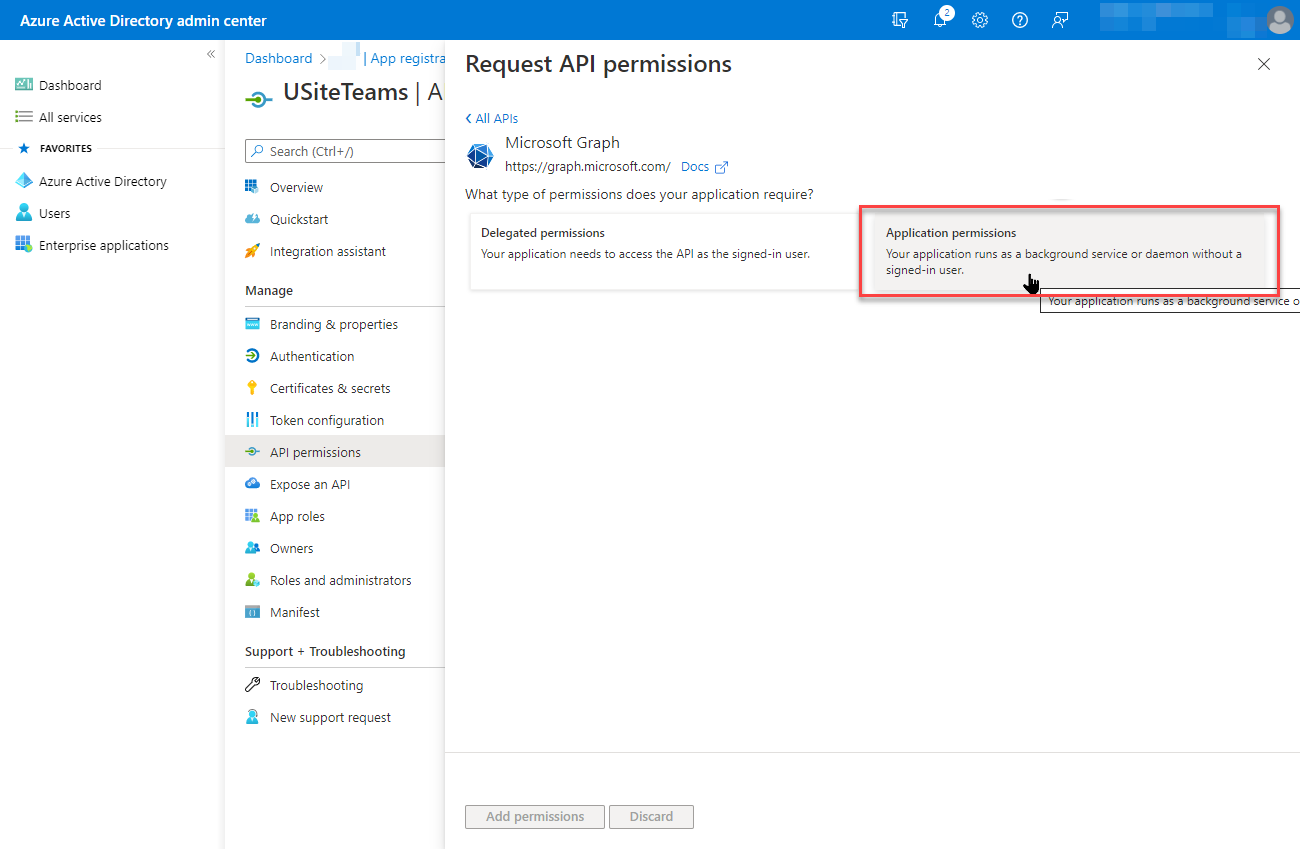
Click + Add a permission.

-
Click Microsoft Graph.

-
Click Application permissions.
-
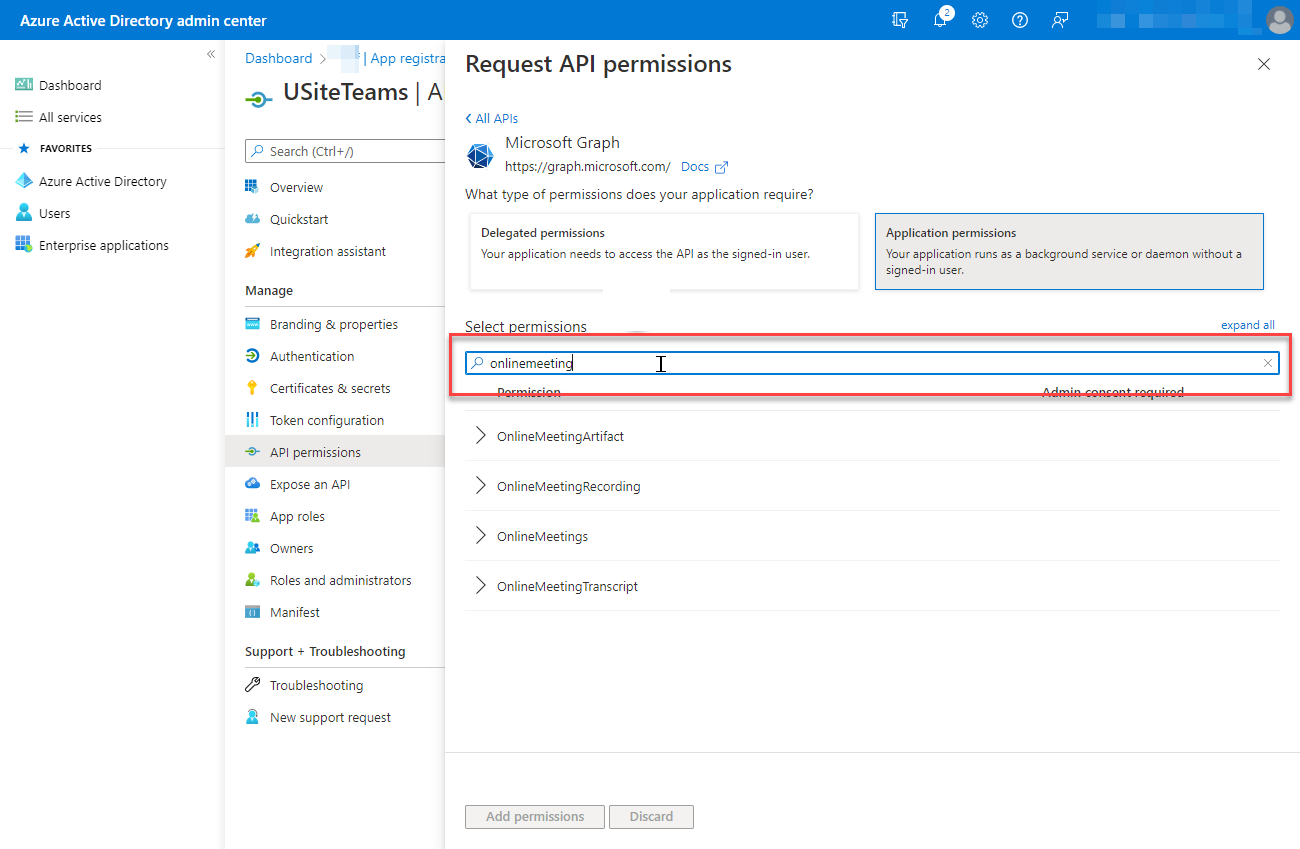
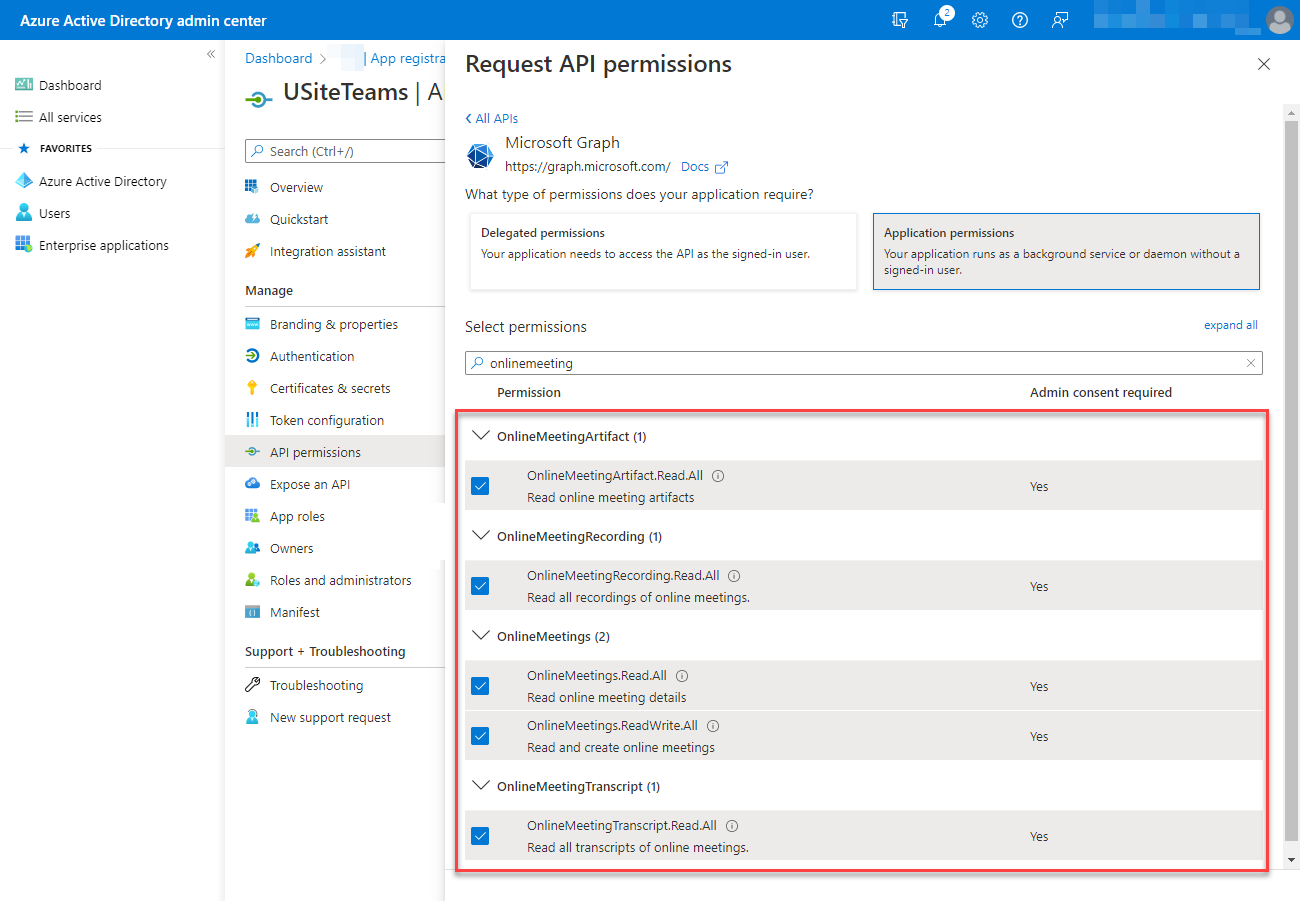
From the Select permissions search field, type onlinemeeting to show a list of the related permissions.
-
Click to Expand and select each permission but don't add the permissions because we have one more to add.
-
Go back to the Select permissions search field, type calendar. Click Calendar |Expand and select the Calendars.ReadWrite permission.
-
At the top, select Delegate permissions then go to the select permissions search field and re-type calendar. Click Calendar |Expand and select the Calendars.ReadWrite permission.
-
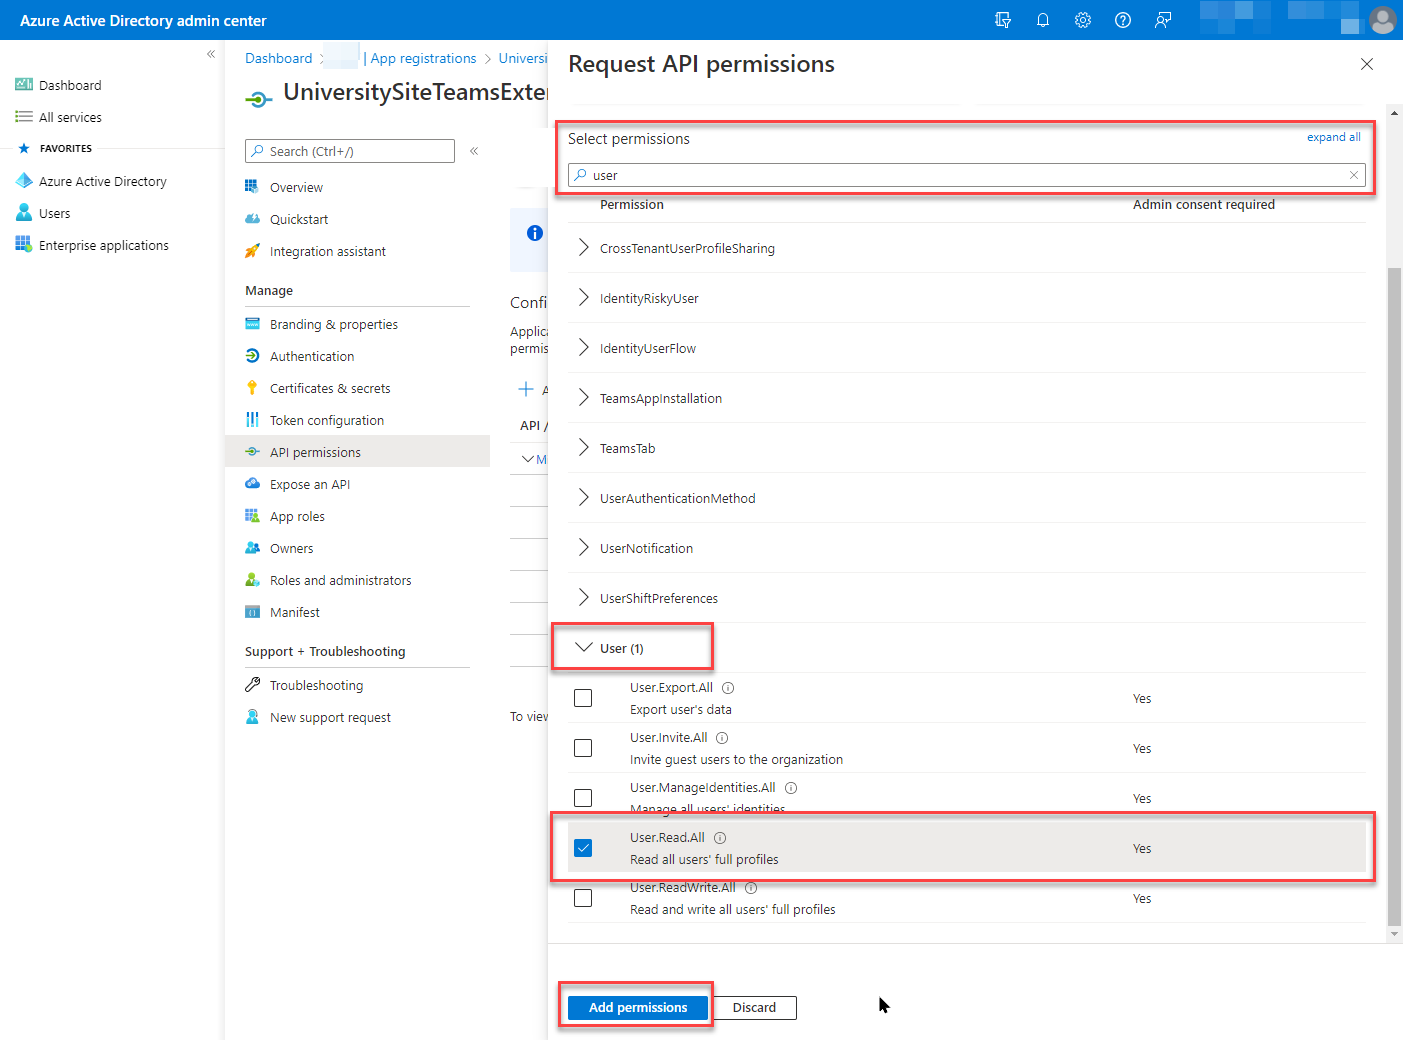
Again, from the Select permission field, search for user. Click User | Expand and select the User.Read.All permission, and then click Add permissions.
-
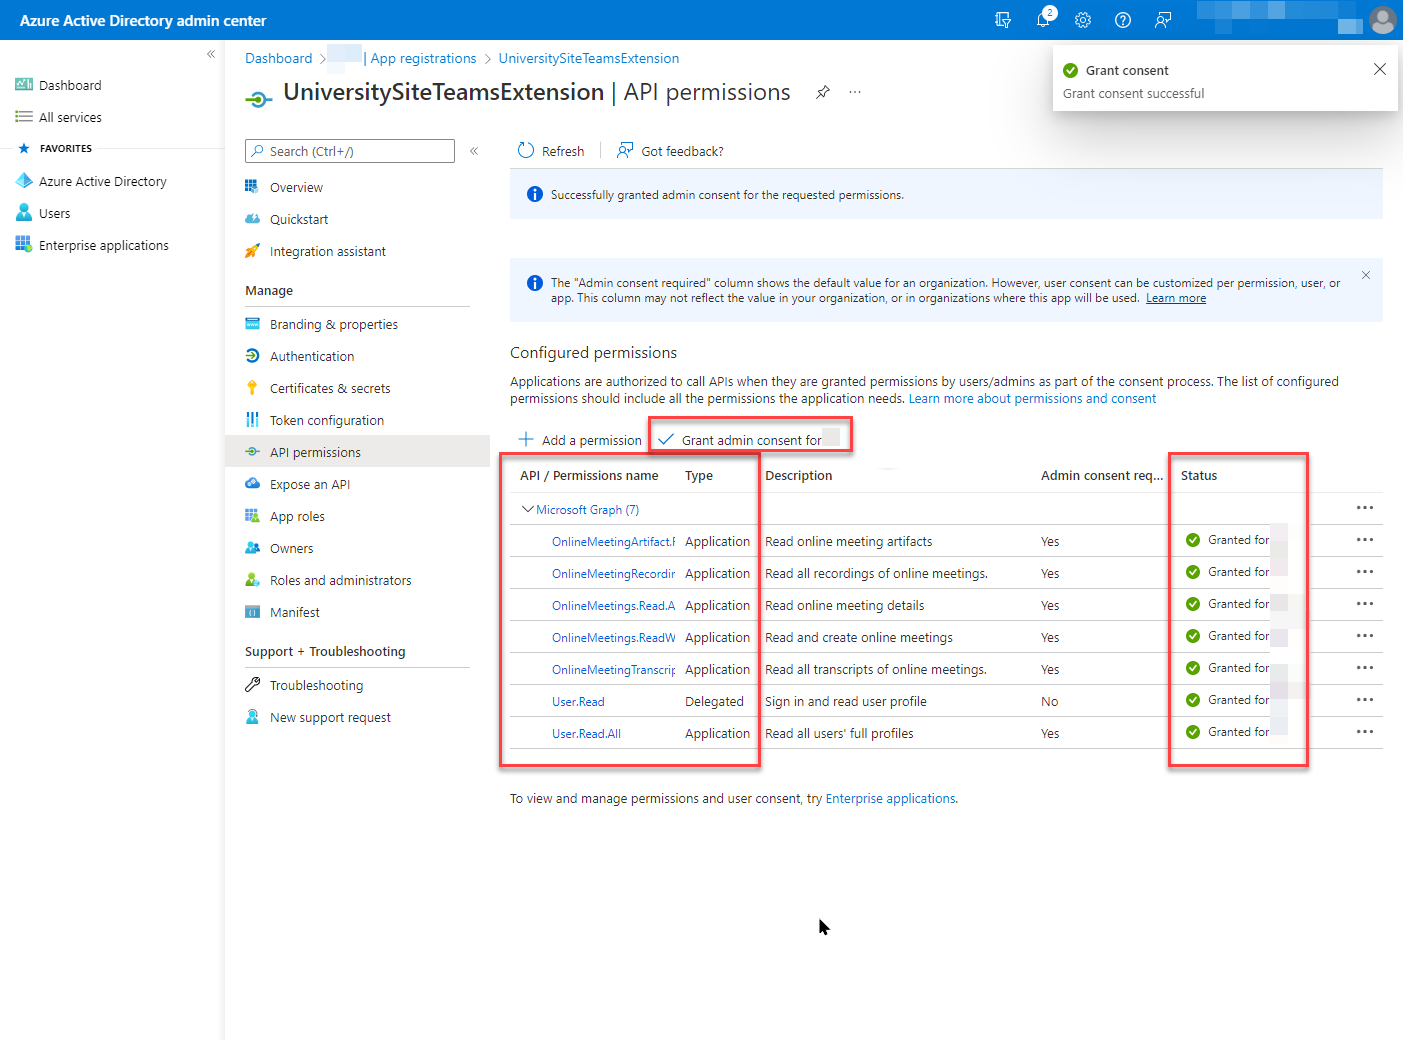
Click Grant admin consent for newly added permissions, then click Yes to confirm.
-
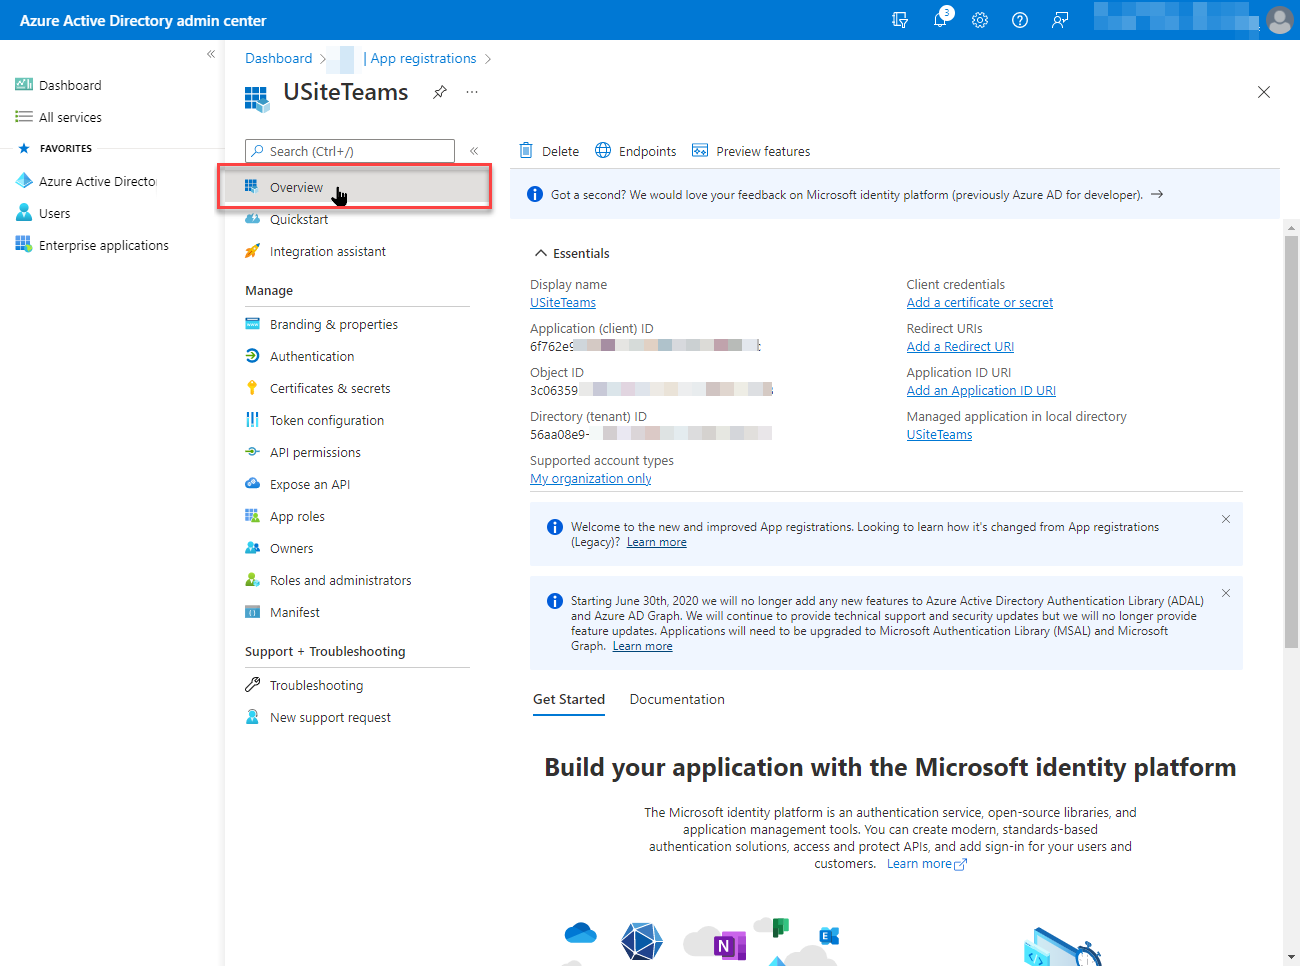
Click Overview.
-
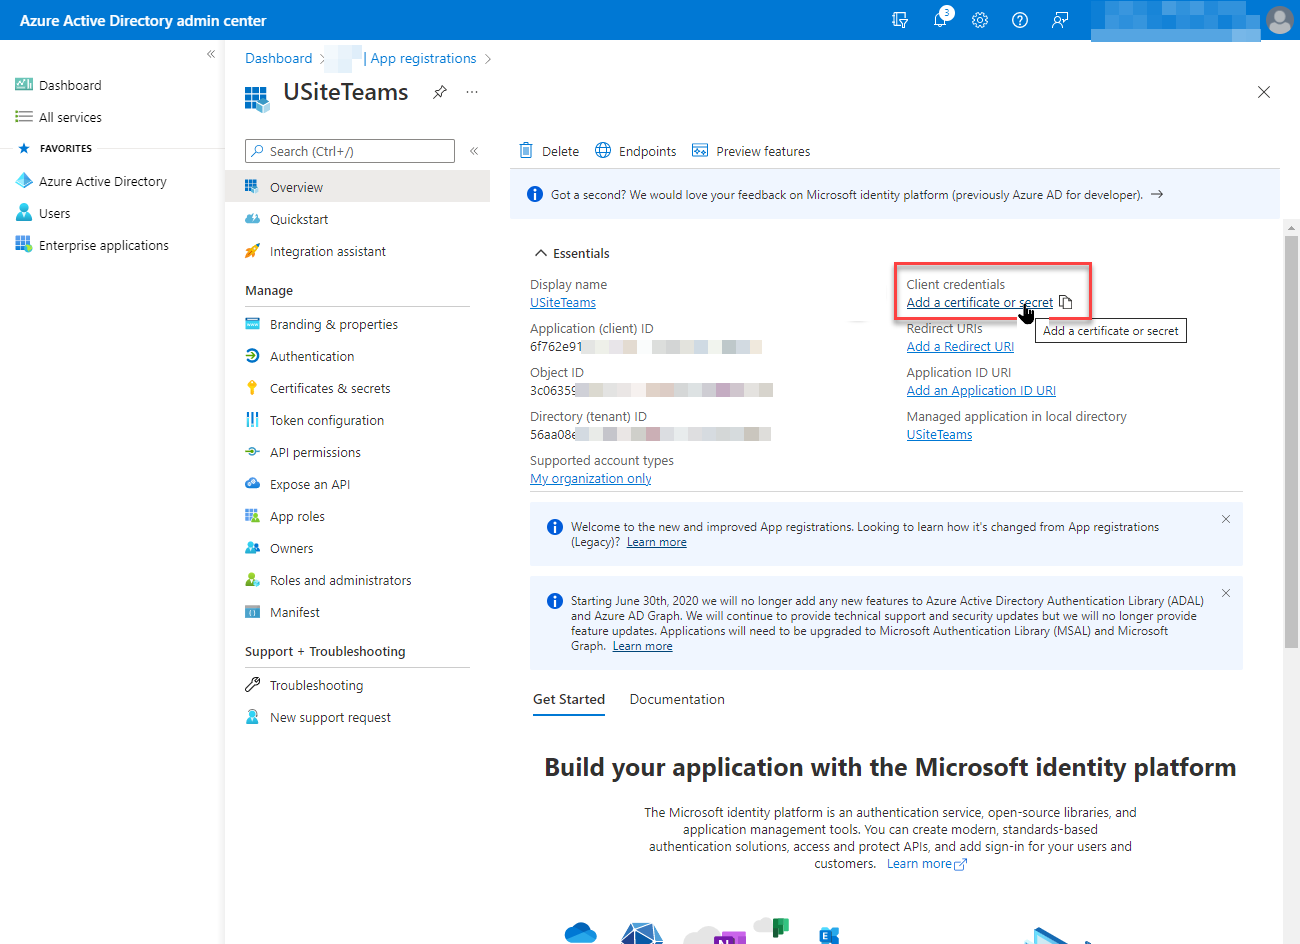
Next, under Client credentials, click the Add a certificate or secret link.
-
Click + New client secret.

-
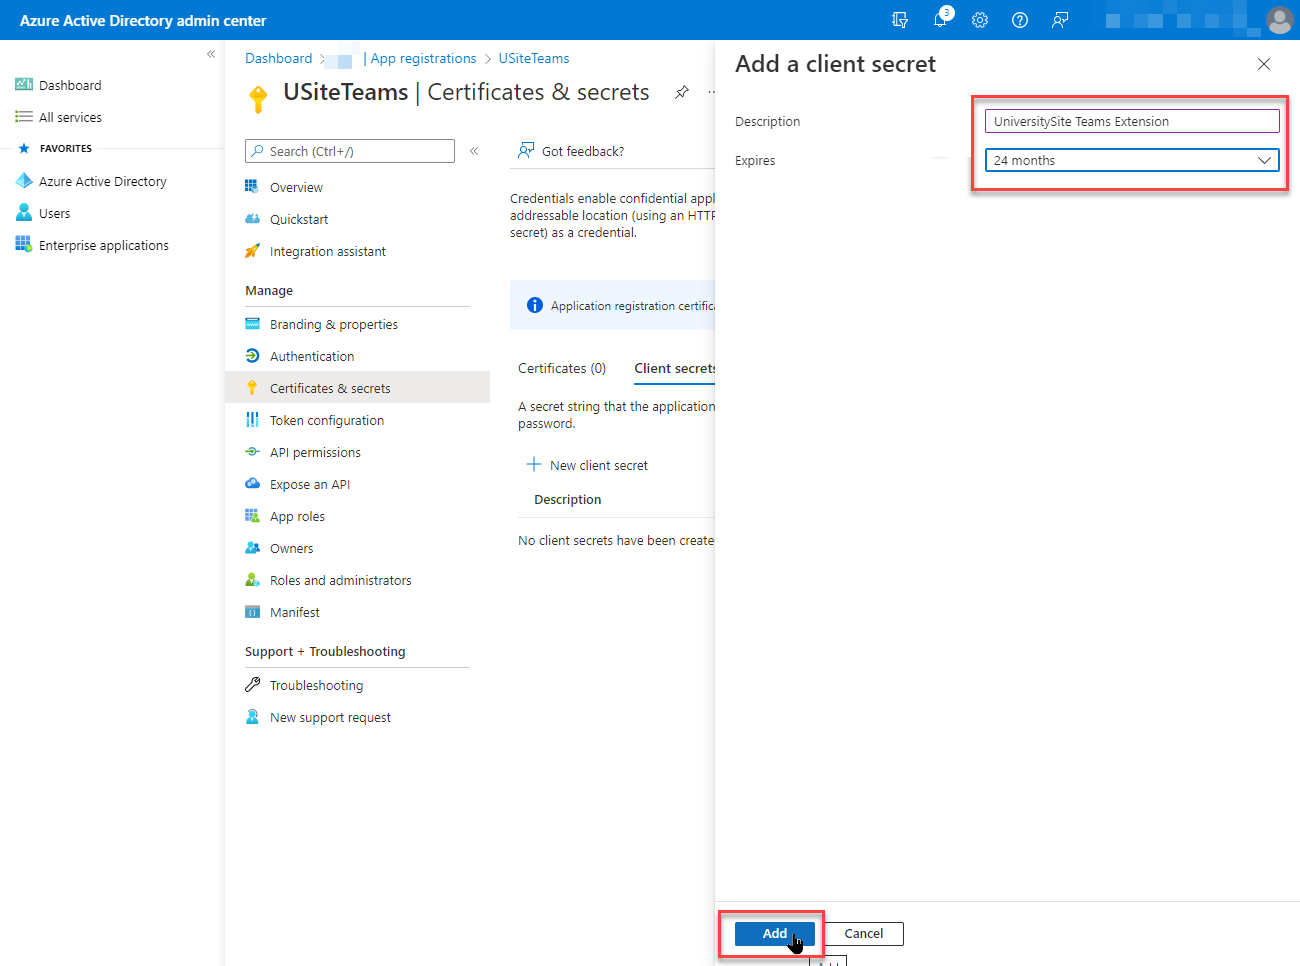
Add a Description, then from the Expires dropdown, choose 24 months, and then click the Add button.
-
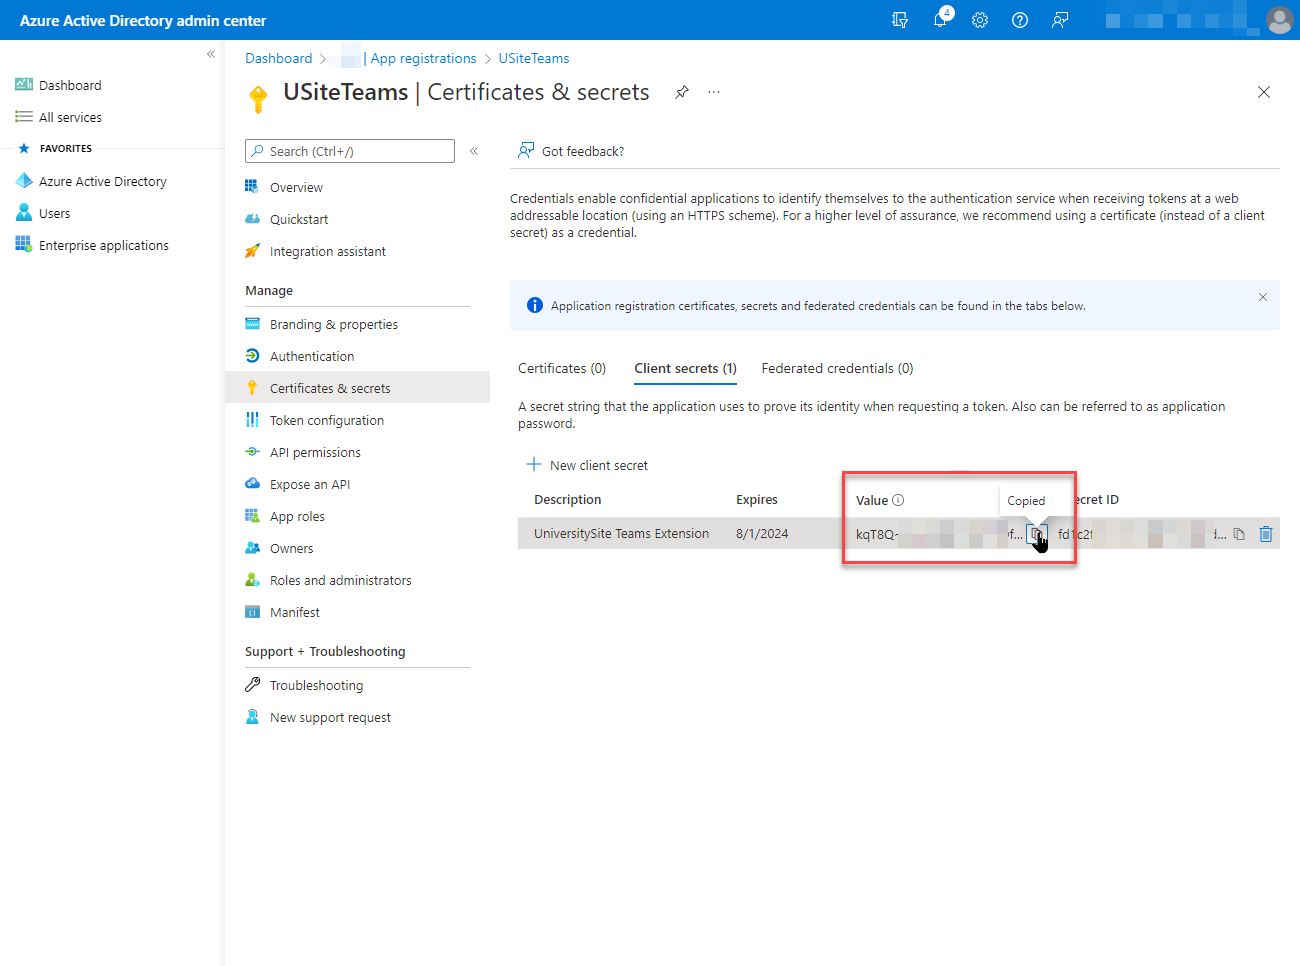
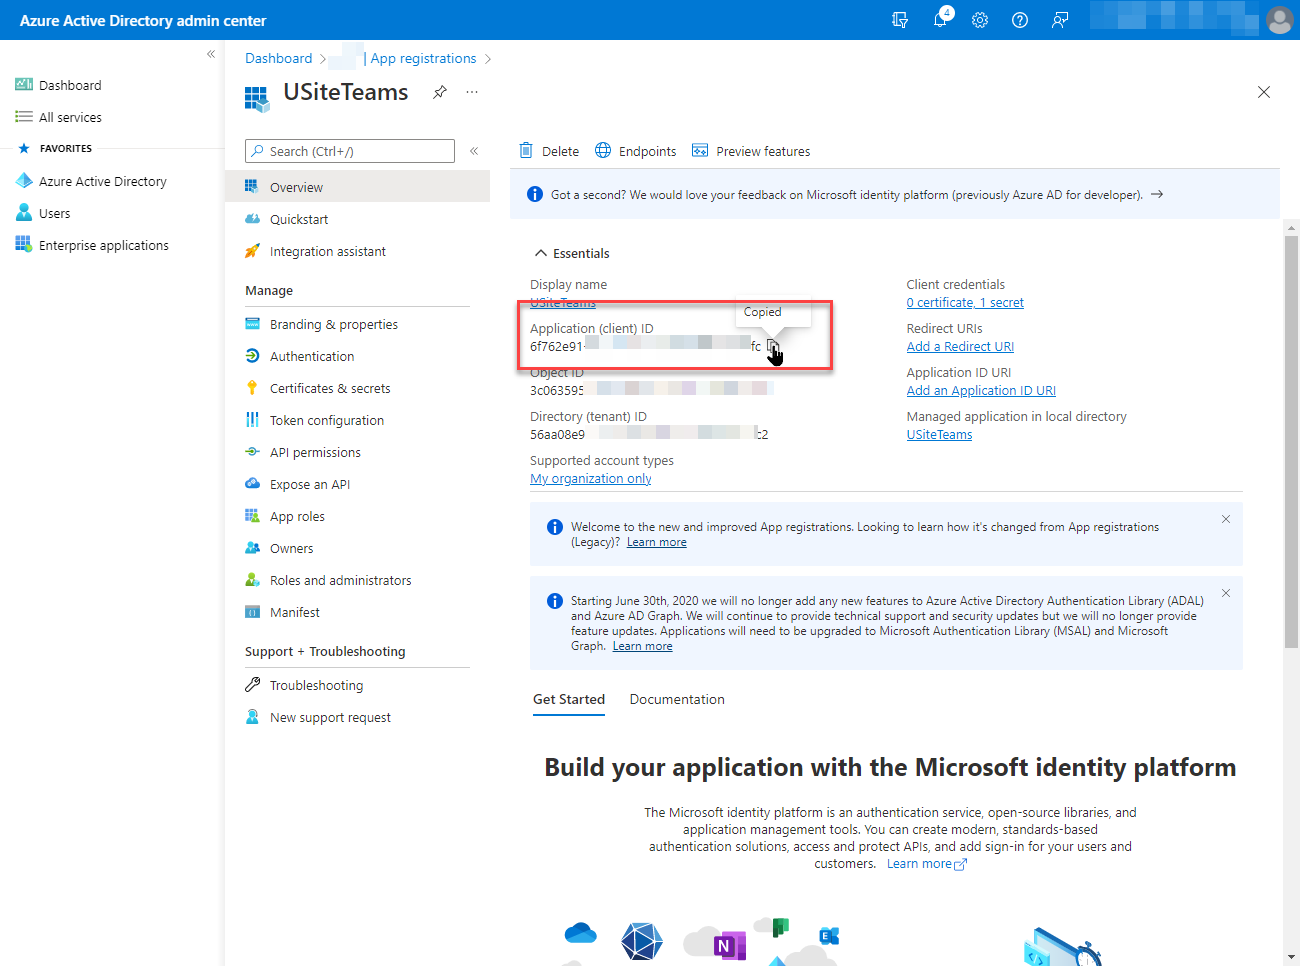
Copy the Client Secret Value (not Secret ID) and paste it into an email or chat message to the LMS Administrator along with the Application (client) ID, and then Directory (tenant) ID from steps 18 & 19. You will also use the Application (client) ID value when you run the PowerShell script along with the Display Name.
-
From the Overview page: Copy and paste the Application (client) ID into the message.
-
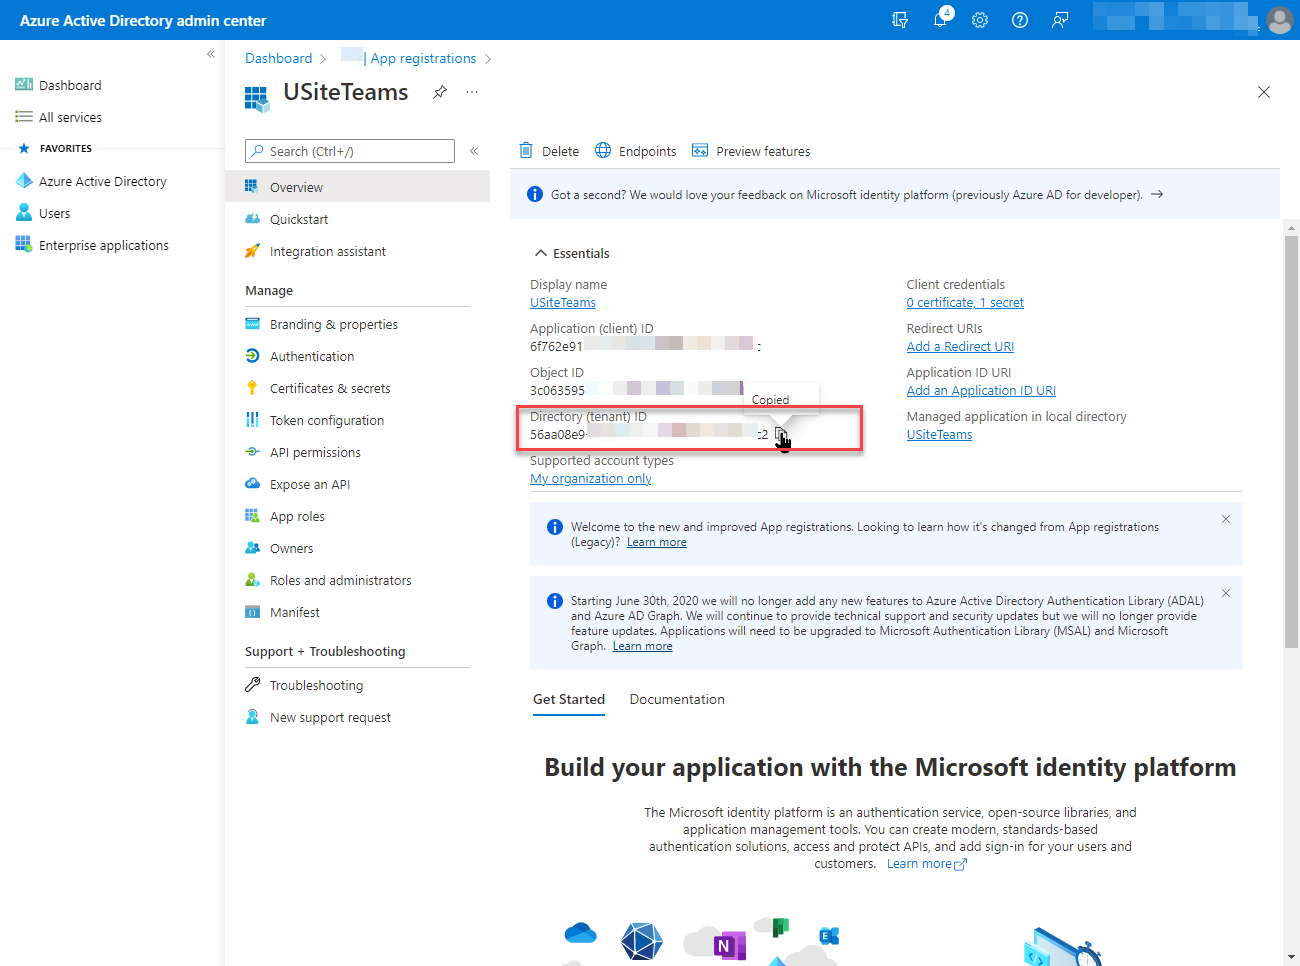
Copy and paste the Directory (tenant) ID into the message. Keep the message open for the PowerShell script.


Update Teams Policy
-
Open PowerShell (as an admin).
Before running the following script in PowerShell, replace the [ Application (client) ID] below with your firm's Application (client) ID and the [Display Name] with the Display Name of the application in the code below:
Install-Module -Name PowerShellGet -Force -AllowClobber
Install-Module -Name MicrosoftTeams -Force -AllowClobber
Import-Module MicrosoftTeams
Connect-MicrosoftTeams
New-CsApplicationAccessPolicy -Identity "[Policy Display Name]" -AppIds "[Application (client) ID]"
Grant-CsApplicationAccessPolicy -PolicyName "[Policy Display Name]" -Global
Install-Module -Name PowerShellGet -Force -AllowClobber
Install-Module -Name MicrosoftTeams -Force -AllowClobber
Import-Module MicrosoftTeams
Connect-MicrosoftTeams
New-CsApplicationAccessPolicy -Identity "UniversitySiteTeamsExtensionPolicy" -AppIds "e9eef294-xxxx-xxxx-xxxx-b0401bd428b7"
Grant-CsApplicationAccessPolicy -PolicyName "UniversitySiteTeamsExtensionPolicy" -Global
2. Provide the LMS Admin with the Application (client) ID, Directory (tenant ID), and the Client Credential Secret Value so they can add the values to UniversitySite.
Connect UniversitySite to Microsoft Teams
From InstructorSite, go to Global Settings | Miscellaneous | Extensions | expand Microsoft Teams Extension.
- In the Teams Tenant ID field paste the Directory (tenant) ID.
- In the Teams Client ID field paste the Application (client) ID.
- In the Teams Secret field paste the Client Credential Secret Value.
- Click the Test Teams Connection button.