
Events - Create New/Schedule
This article will explain how to schedule the most common types of Events. You can create a new Event from a particular Course (New Event in the Edit dropdown button), but it is recommended to use the + New button in the Main Navigation Bar.
Steps
- Select + New in the Main Navigation Bar.

- Select Event.
-
Type the name of the Course and select it when it appears.
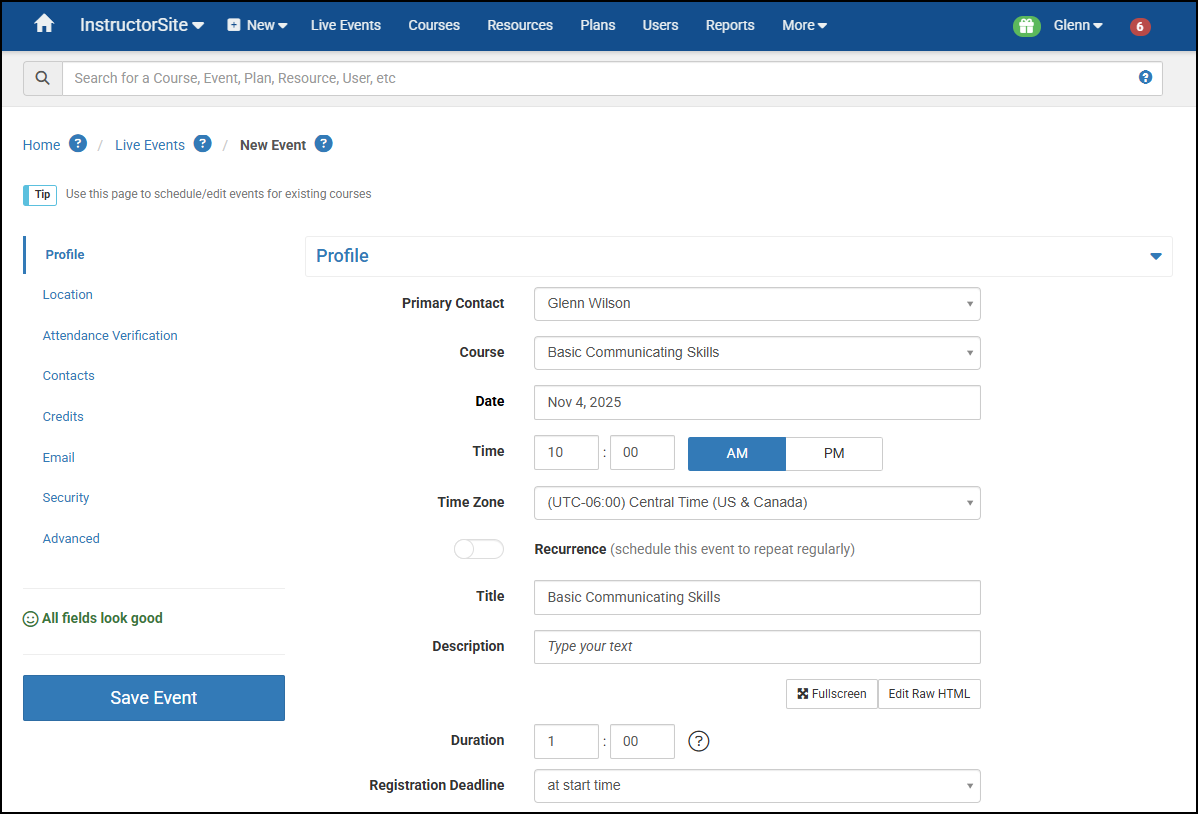
- Choose the Date for this Event either by typing it in or using the date selector.
- Specify the Time for this Event and appropriate AM/PM selection.
- Only change the Time Zone if needed.
- If desired, toggle on Recurrence and specify your recurrence pattern.
- If desired, change the default Registration Deadline to prevent people from canceling or registering after that point. E.g. at start time is the default, but perhaps you need advance warning because you need a definite head count 2 days in advance, so you choose 48 hours (2 days) before start time.
-
Expand the Location field and choose the Event type that best fits your needs. Refer to the short descriptions for further explanation or see the documentation for the event editor for details.
Note: The choices that appear below change based on the Course type you select here.
- If the capacity for this room is incorrect, change it for this Event in the Location section. To change it for the room itself so that future Events will also use this capacity, go to the Training Room admin tool and make your update there as well.
- Review your choices and click Save Event.

Tips: Before scheduling many Events for a Course, e.g. recurring Events, it is important to have the details right because you cannot update currently scheduled Events at this moment by updating the Course. You have to actually update each Event if you have an updated Title or Description you want reflected in that Event.